
Шапочка для малышки из носового платка


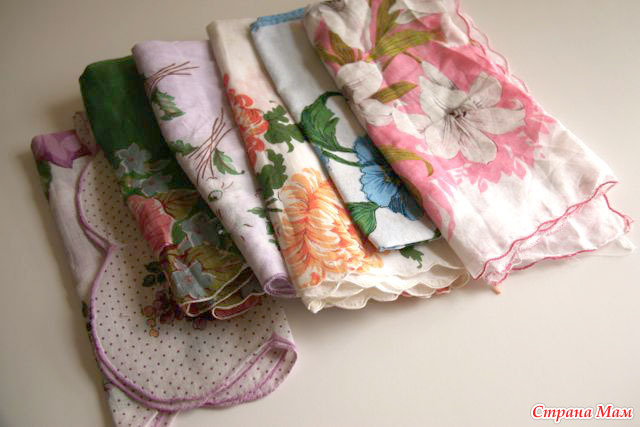
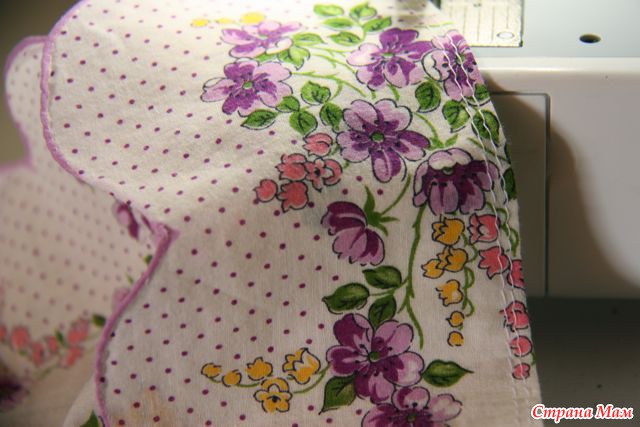
The hankie I chose is 15" x 15" with a scalloped edge.

Fold one edge in about 3" and press. This will be the back of your bonnet.
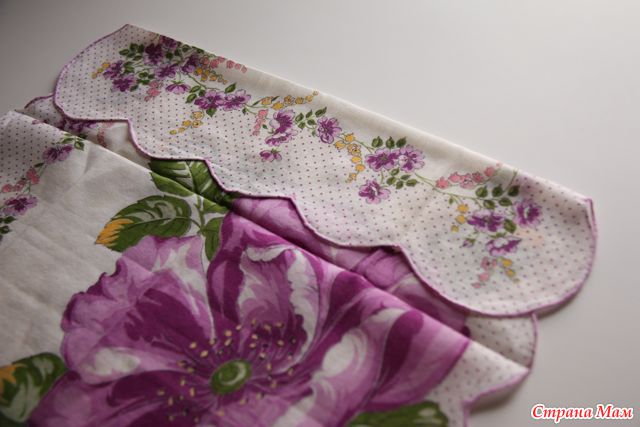
Fold opposite edge in about 4 1/2" and press. No matter the size of your hankie, you want to make this fold large enough so the width equals about 6 1/2". This fold will be the front of the bonnet. Hankie will overlap.
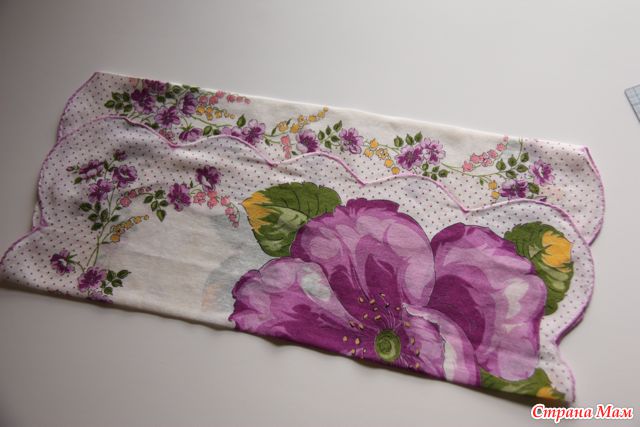
Sew parallel tucks in the front bonnet big enough so the pieces do not overlap anymore. I sewed 3 - 1/4" tucks.
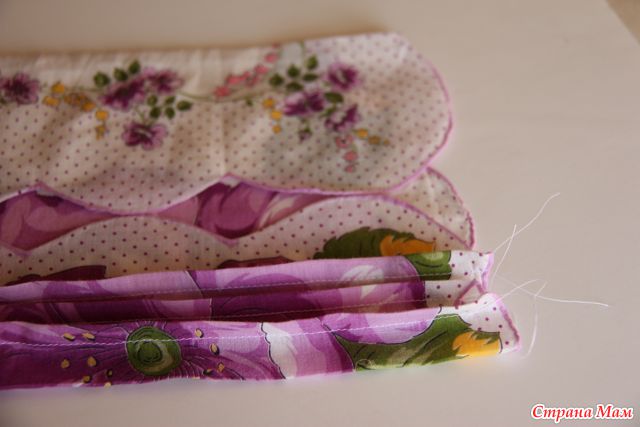
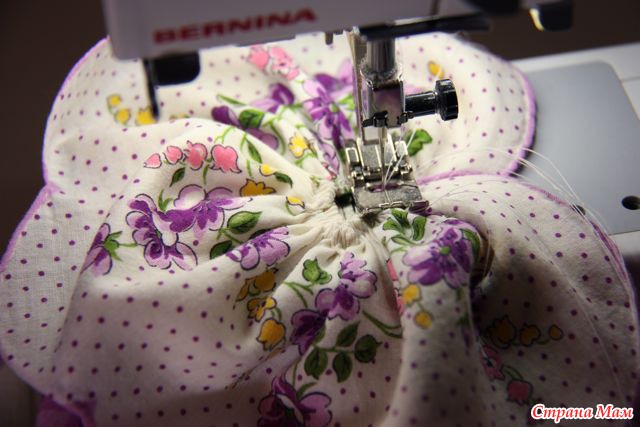
Press tucks away from bonnet front edge. On the back edge of bonnet, sew two rows of gathering stitches 1/8" and 1/4" away from folded edge through both layers.
Pull gathering stitches as tight as possible. Tie thread in a square knot to hold in place.

Run a regular stitch around newly formed back bonnet circle (right on top of gathering stitch) to secure gathers in place.
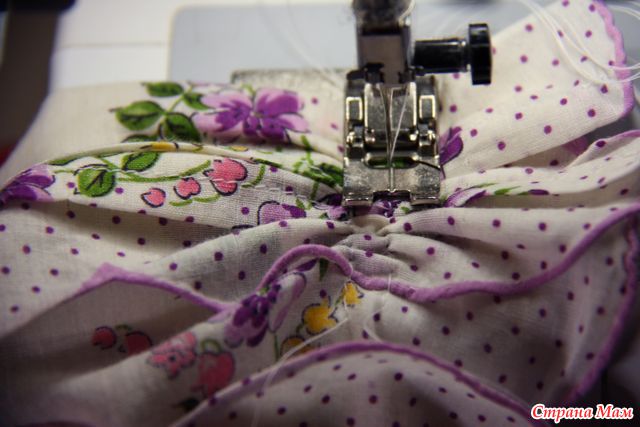
To give the bonnet more shape, run two gathering stitches (1/4" apart) along front bottom of bonnet on each side. For a 15" hankie, place first row of stitches 1 1/2" up from bottom edge.

Pull threads to gather.

Secure gathers in place by topstitching along stitch lines on each side.
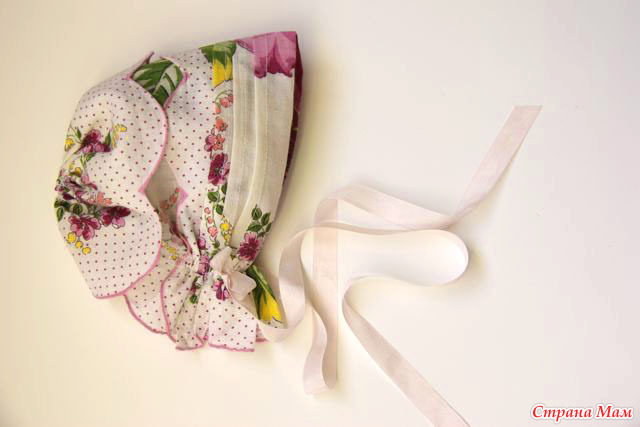
Add ribbon tie to each side to create bonnet ties.

Now you’ve refashioned your hankie.
Источник: www.somewhatsimple.com/2010/03/fabulous-friday-and-giveaway-from-this.html
|
|
Печать | Получить код для блога/форума/сайта |
Коды для вставки:
Как это будет выглядеть?
Скопируйте код и вставьте в окошко создания записи на LiveInternet, предварительно включив там режим "Источник"
HTML-код:

|
|
| BB-код для форумов: |
Как это будет выглядеть?
Страна Мам → Шапочка для малышки из носового платка
 |
The hankie I chose is 15" x 15" with a scalloped edge. Fold one edge in about 3" and press. This will be the back of your bonnet. Fold opposite edge in about 4 1/2" and press. No matter the size of your hankie, you want to make this fold large enough so the width equals about 6 1/2". This fold will be the front of the bonnet. Hankie will overlap. Читать полностью |
| +34 |
 Pianiri
|
5 комментариев |


Комментарии
Вставка изображения
Можете загрузить в текст картинку со своего компьютера: